I’ve jotted down a few ideas for you to read through to get the most out of your Google Classroom experience. When you use Classroom, you aren’t just using Classroom, you are using Docs, Sheets, Slides and Drive, so here are my top things to know to help you get started. Each of these are similar to the Microsoft counterparts of Word, Excel, PowerPoint and OneDrive.
General Tips:
To get the most out of everything I recommend that you use Google Chrome to browse the internet. Once you’ve used your Google ID to sign in to Chrome it automatically signs you in to all of your Google apps and you don’t need to worry about signing in again. Don’t know how to do this? Look at the top right of your screen – you should have an icon representing you. If you don’t, click the button with your name or People, then click Sign In to Chrome and sign in with your Google Account.

Everything in Google saves automatically in real time (so long as you are on the internet) and can be shared very quickly with other users in your school by clicking the blue share button (top right). This could be a document you want to collaborate with colleagues, or could be something that you wish to share with someone outside your organisation. You can choose to only allow people to ‘view your document’ or set them to be editors or commentators. To do this click “Get shareable link” in the top right of the “Share with others” box. To choose whether a person can view, comment, or edit the file, click the Down arrow next to “Anyone with the link.”
You can add something called Extensions which you can find in the Chrome Store to find “extras” to enhance your user experience. I use one that gives me a shortcut to inserting accents , and I’ve also got the Bitmoji extension to add images/cartoon like character. Browse the different extensions to find something you might find useful and feel free to share what you have found over on our Facebook group.
Google Drive:
All Google Docs/Slides etc are saved in your Google Drive, in the cloud. If you are using Classroom as well, then Google automatically creates a folder in your Google Drive called (funnily enough) Classroom which is then organised into your classes and then into your assignments.
You will have My Documents in Google Drive, where all your own resources are found, and you may also have a Shared Drive. In my school I have created a Shared Drive for our Faculty to easily store and share resources, which makes them easier to add into Classroom as they are already on the Google platform somewhere and are easier to find.
Make use of the search bar at the top of your Google Drive page to easily find documents.
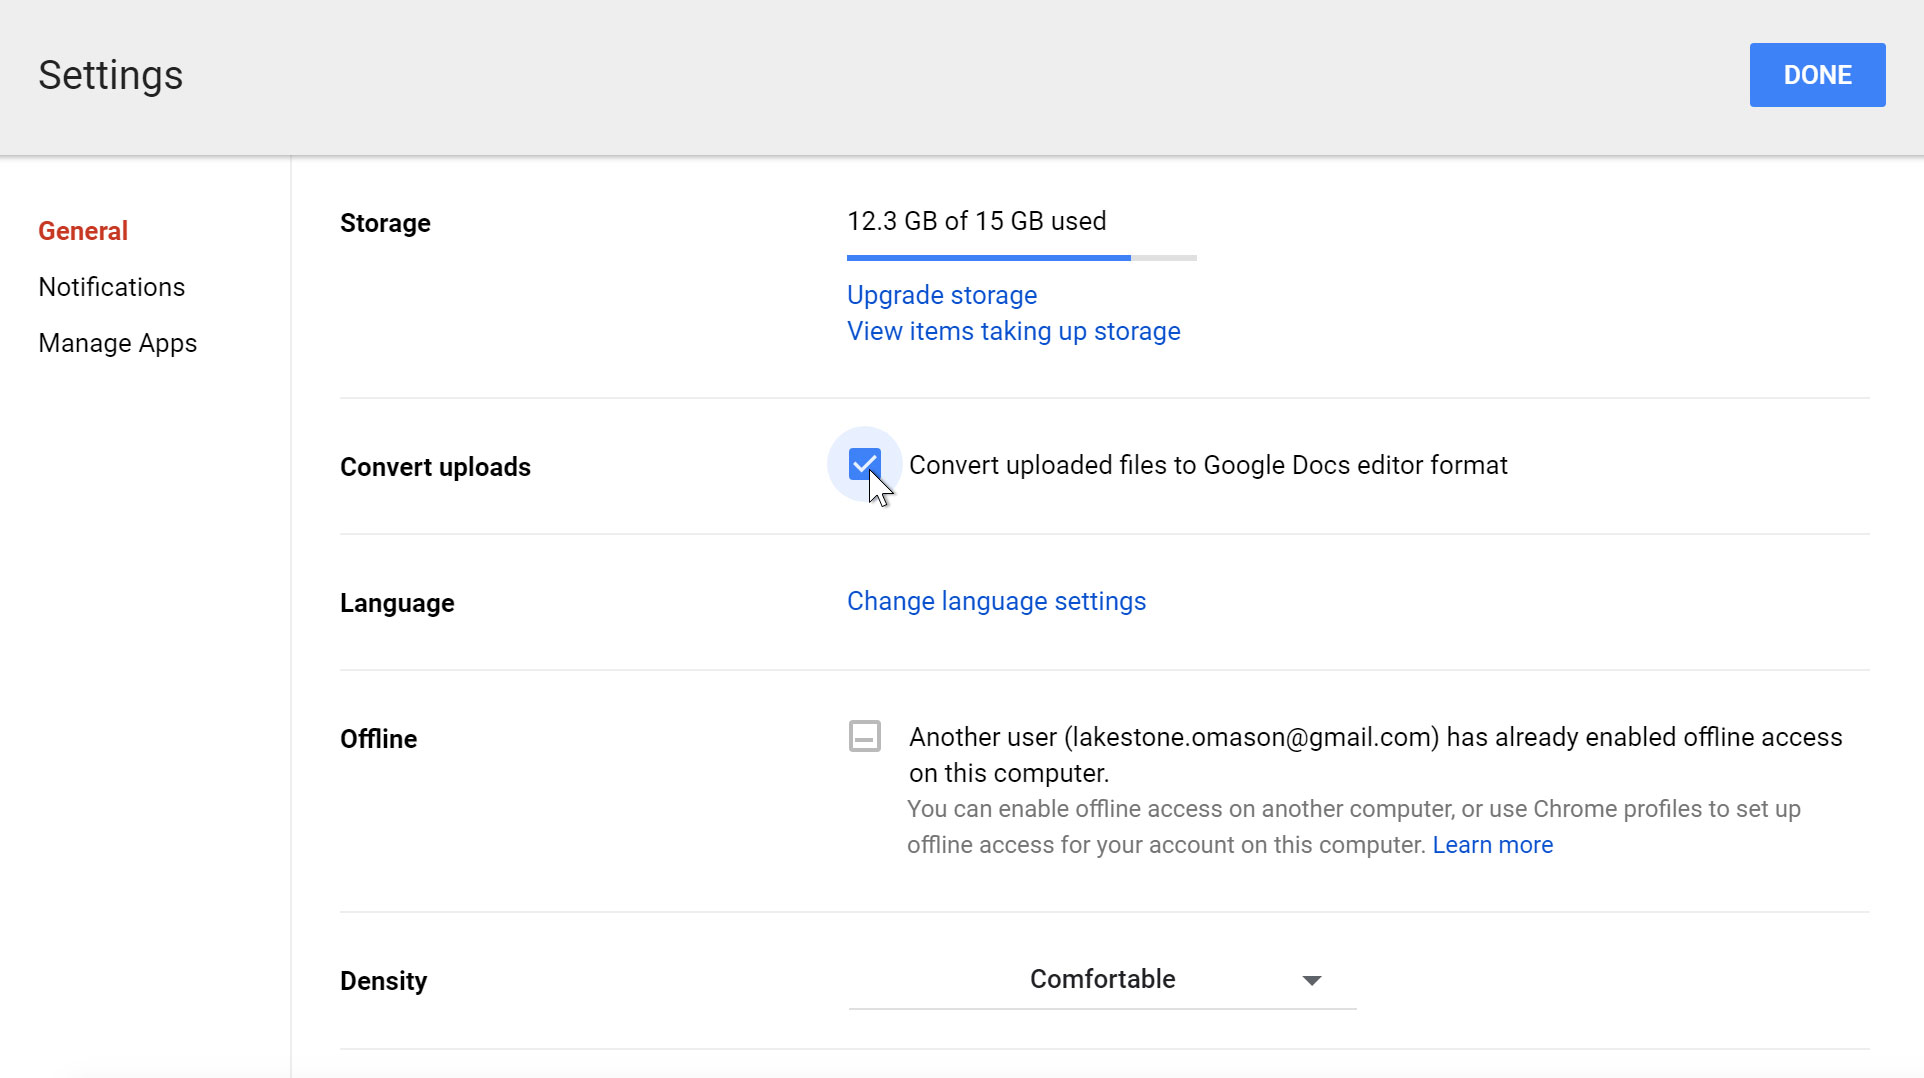
If you have lots of ready made Word and PowerPoint resources that you want to move over to Google Drive, make sure your settings in Google Drive have the Convert Upload box checked, so that these files automatically turn into Google versions. Trust me, its a lifesaving hack!
Google Docs & Slides
These work very similarly to Word and PowerPoint, and are fairly user friendly, but some handy things that I like are:
- you can easily search the web for content or images by clicking on the Explore icon on the bottom right of your screen when you’re in Google Docs/Slides
- you can use the fonts/insert/animation tools in a very similar way to PowerPoint/Word etc
- you can link to different online resources by creating a hyperlink (right click on your word/image you wish to make the link in and scroll down to link then just paste in the URL)
- you can make a quiz easily using a form and you can even set it to self mark
If you want to know some other specific features, better writers than I have written extensively on the topic. These Tips & Tricks for Docs are a starting point or this blog here on Slides.
I hope that is a useful starting point for now.